AnyDesk Quick Start Guide
This guide offers the following steps to navigate AnyDesk: installation, license activation, Unattended Access setup, initiating connections, and Address Book management.
Initial Setup
Download and install AnyDesk on your device from https://anydesk.com/downloads.

Registration
Note: Outgoing clients initiating connections for commercial purposes require registration with an AnyDesk license. Incoming clients accepting or rejecting connections do not need licensing.
- Upon purchasing a license, access your my.anydesk.com customer portal with provided login credentials.
- Copy your license key from the License tab.
- In the AnyDesk client, access the Main Menu and click “Change license key.”
- Paste your license key into the “Change License Key” field.
- Click “Register License Key” to finalize registration.
Set Up Unattended Access
Configure unattended access for remote clients, eliminating the need for user presence.
More details at https://support.anydesk.com/knowledge/unattended-access.
- Navigate to Settings > Security > Unlock Security Settings.
- Enable “Enable unattended access” (pre-AnyDesk 7) or select a Permission Profile and set the desired unattended access password.
- Choose to allow or disallow connecting clients from saving the unattended access password.
Starting a Session
- Obtain the remote user's AnyDesk-ID or Alias.

- On your local device, input the ID/Alias in the “Remote Desk” field and request a session by pressing “Enter/Return” or clicking “Connect.”

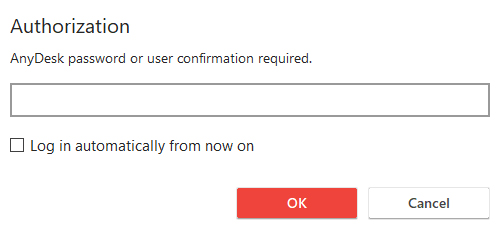
- If configured, enter the unattended access password or await manual confirmation from the remote user.
Client and Session Management
Manage licenses, registered clients, and active sessions via the my.anydesk.com portal.
- Set/change Aliases
Navigate to the Clients tab, choose a client by their ID, and set the Alias. - Reset the license key
Access the License tab and click Reset to prevent unauthorized registrations. - View/terminate active sessions
Switch to the Sessions tab and click End to terminate sessions. - Remove clients
In the Clients tab, select the client by their ID, and click Remove to remove them.
Address Book
Access the Address Book feature for streamlined contact management.
More details at https://support.anydesk.com/knowledge/address-book.
- Add users
Open the Address Book from the Main window.
Select an Address Book and click Add entry. - Set tags to filter contacts
Right-click on a contact, select "manage tag" from the context menu.
Add tags or drag them from the available list. - Drag and drop contacts
From Discovery/Recent Sessions/Favorites/Another to the Address Book.
Open two Main Windows side by side, select contacts, and drag them. - Add a tag to multiple contacts
- Search through all Address Books
Watch the Tutorial Video